
The Bronco’s modular hard top makes it one of the few SUVs where you can customize your open-air experience. Cruise around with the front panels off or take the back cap off for full exposure –– some people choose to ride with just the front panels on and the cap off, though that's not in the owner's manual as an official configuration.
No matter what, you’ve got options!
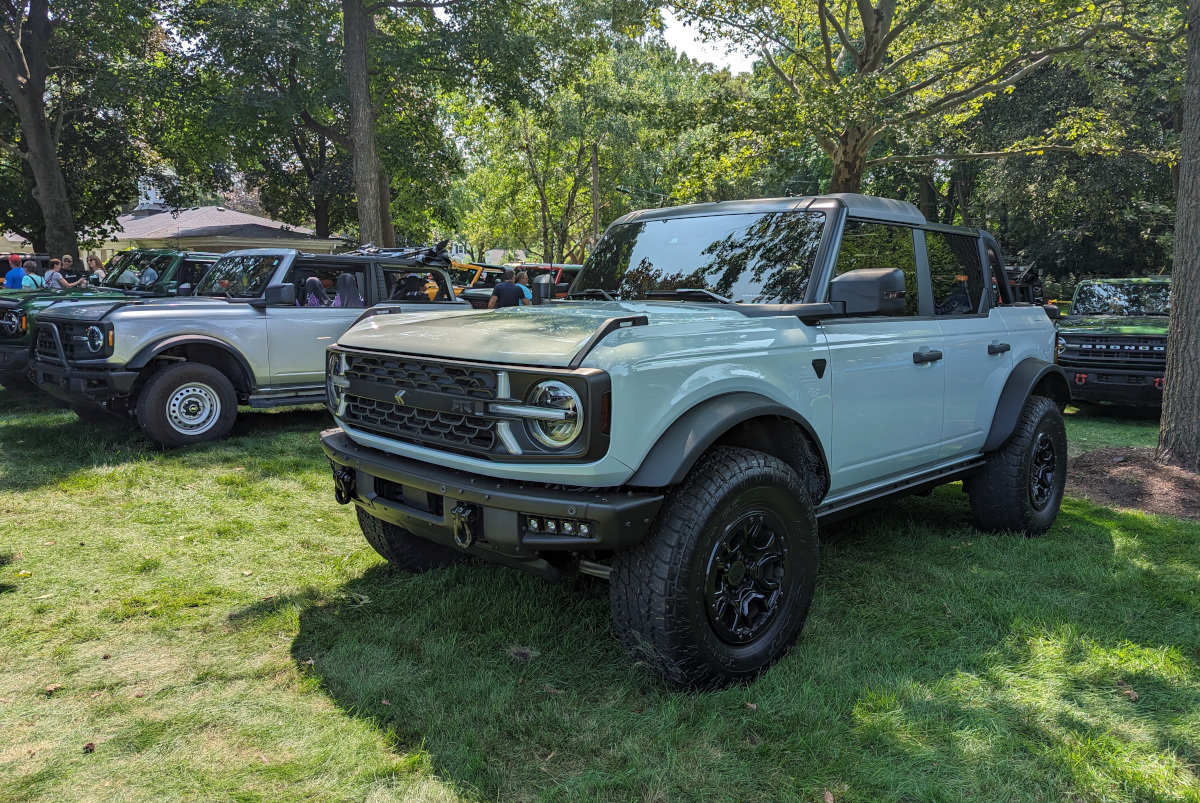
There are two main configurations for the factory hard top: front panels removed (middle panel off as well for 4-door models), and all of it fully off. With warm weather here for some and on the way for others, it’s the perfect time to get familiar with your Bronco’s top-off possibilities.
And whether you prefer to watch or read, we've got you covered. This guide will walk you through how to open, remove, and reinstall the hard top step by step.
How to Operate the Ford Bronco Hard Top
The Bronco's modular hard top is designed for versatility. To get quick access to fresh air and sun, take the panels off:
Front Panels
- Lower the visors to access the latches.
- Release the L-shaped latches for the panels you wish to remove.
- Release the latches located above the windshield.
- Starting with the driver’s side, remove the panels.
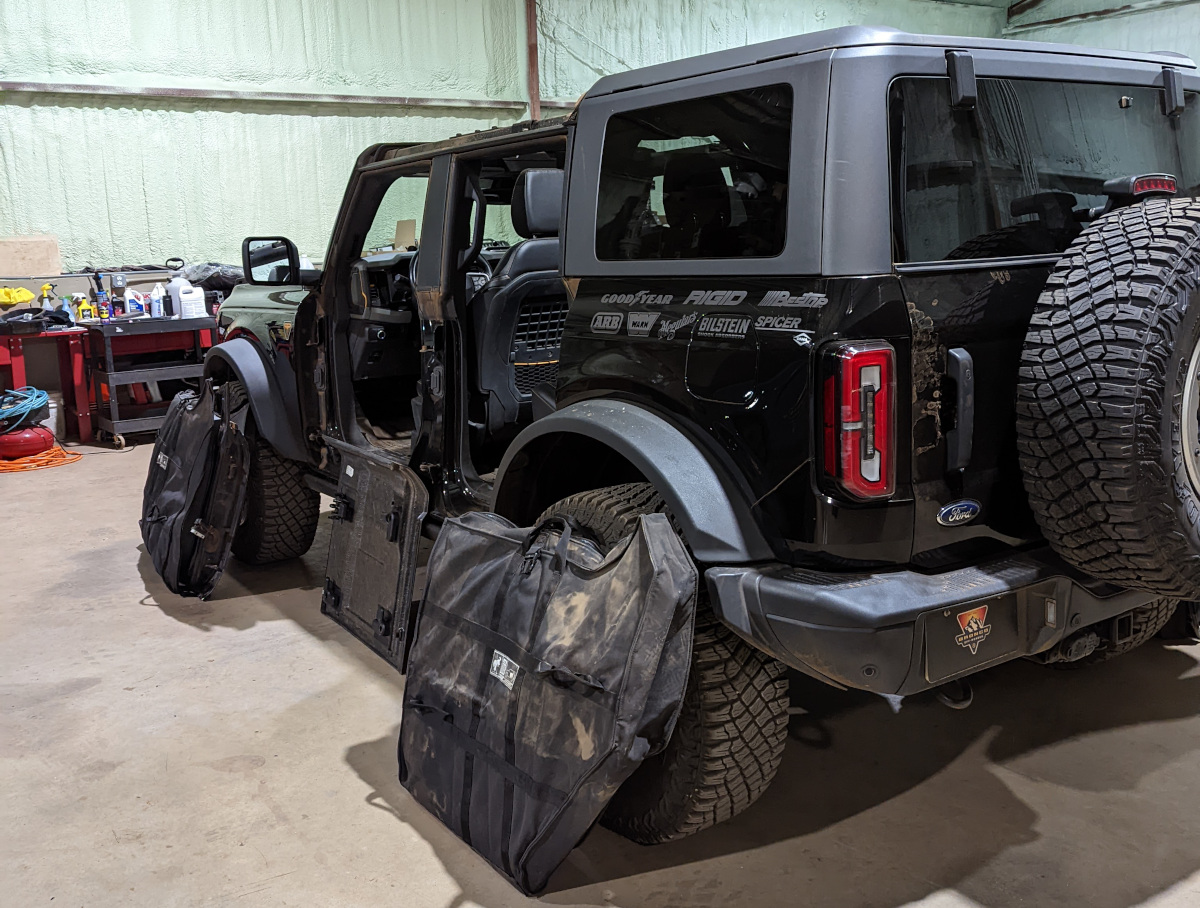
- Store them safely in your roof panel bags or inside your garage.
Middle Panel (4-Door Only)
- Release the L-shaped latches securing the middle panel.
- Lift off the middle panel and store it inside your garage. You may want a friend to assist; the middle panel doesn’t weigh much (approx. 27.5 pounds), but it is awkward to slide up and over, especially for shorter folks.
Modular Roof Panel (2-Door Painted Top Only)
- Pull and hold the spring-loaded slide.
- Turn the L-shaped latch.
- Repeat both steps for the other latch.
- Push up on the front of the panel, and safely store it.
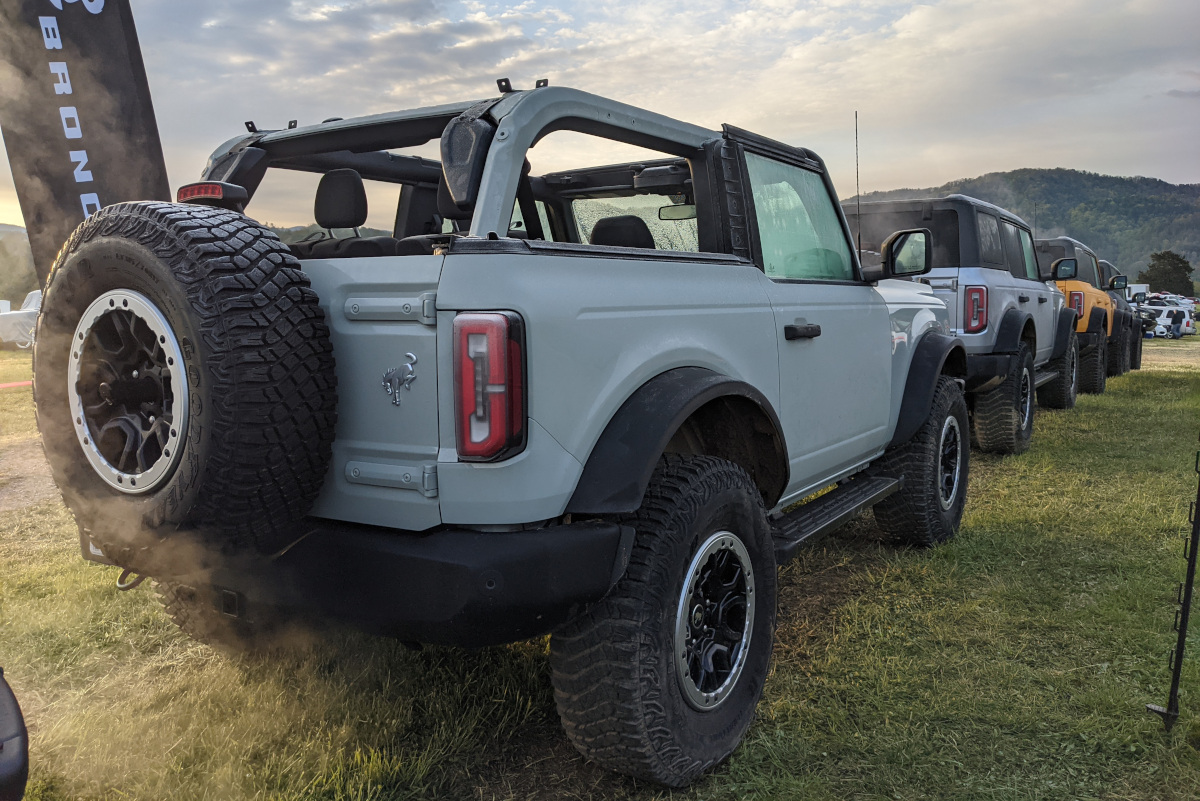
- Roll down the windows to drive if you’re only removing the porthole panel.
This setup allows you to enjoy the open sky while keeping the rear section in place.
To put the panels back on, start with the middle panel if you have a 4-door. Then, for both 4-door and 2-door Broncos, add the passenger side back on, and then the driver’s panel. Latch the windshield latches, then turn the L-shaped latches. Double check your work: You don’t want to lose a panel next time you take off down the road!
Tip: Some owners have found sharp edges on their panels. Until you get familiar with yours, wear gloves. But be careful –– the panels can be easily dropped and damaged.
How to Remove the Ford Bronco Hard Top Completely
For those days when you want nothing between you and the great outdoors, here's how to remove the entire hard top:
Tools Needed:
- 13mm socket wrench (included in the Bronco tool kit).
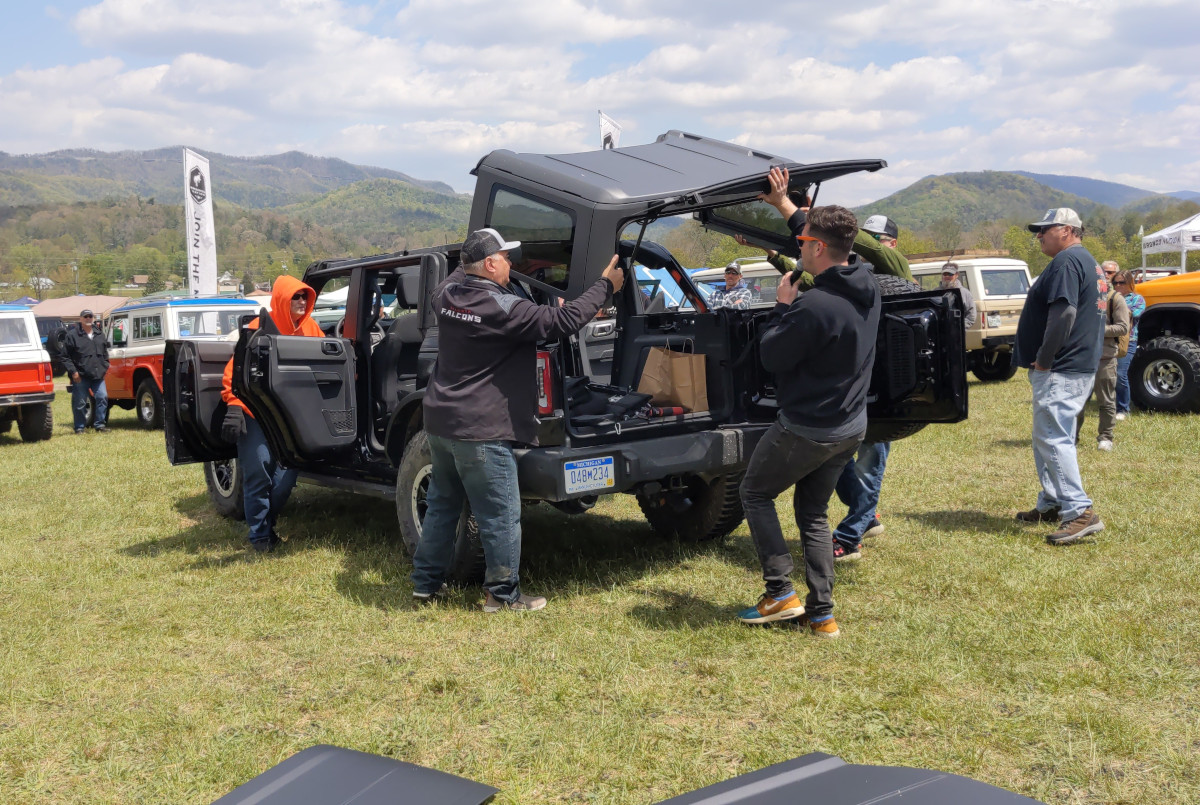
- A friend to assist with lifting (the back cap of a 2-door weighs approximately 80.5 pounds, and the 4-door cap clocks in at only 68, thanks to its shorter length).
Steps:
- Open the tailgate and raise the window.
- Disconnect the washer hose and electrical connector located at the rear of the vehicle and insert them into receptacle located on the body below.
- Remove the bolts securing the rear section of the hard top (use the T50 torx plus). There are two at the C-pillar and four on each side inside the cargo area.
- With assistance and the window open, lift off the rear section and place it on a soft surface to prevent damage. Store with the window left open.
Note: For 4-door models, ensure the middle panel is removed before attempting to lift off the rear section.
Reinstalling the Ford Bronco Hard Top
When it's time to put the top back on, follow these steps:
- With assistance, position the rear section onto the vehicle, aligning it properly.
- Secure the rear section with bolts, torquing the fasteners that secure the rear roof panel to the vehicle to 18 ± 3 lb.ft (25 ± 3.8 Nm).
- Reconnect the washer hose and electrical connector.
- For 4-door models, place the middle panel back onto the vehicle and secure it with the L-shaped latches.
- Install the front panels, starting with the passenger side. First latch the windshield latches, then turn all the L-shaped latches.
- Return the visors back to their original position.
Always double-check that all components are securely fastened before driving!
Make the Most of Your Bronco’s Open-Air Freedom
The Ford Bronco's hard top offers the flexibility to adapt to your adventure. Whether you're cruising with just the front panels off or going completely topless, understanding how to operate, remove, and reinstall the hard top enhances your driving experience.
Need another visual walkthrough? Check out Ford’s official video here, as well as documentation from the owner’s manual:
- Removing and Installing the Rear Roof Panel - 4-Door, Excluding: Raptor
- Removing and Installing the Rear Roof Panel - Raptor
- Removing and Installing the Rear Roof Panel - 2-Door
Join the Bronco Nation Community
If this guide helped, we’ve got more where that came from. Join the Bronco Nation community for more how-tos, trail tips, and owner insights — because owning a Bronco isn’t just about driving, it’s about belonging to an awesome crowd.
Ready for your next adventure? Make it easier and better with friends. Find an event on our calendar –– all the pictures in this article came from good times with the community from North Carolina to Tennessee to Texas –– and check out (or start) a Bronco club near you!

Comments
You must log in or register to post here.