
Nov 04, 2025
Just a warning, this is ridiculously long. I tried to make it short, but it's just impossible to do it in writing. And it's hard to explain things I hope to put up a short video explaining this that I'll attach to this post. But I couldn't find anyone showing how they did a 7 pin. So I just had to figure it out myself. And so I wanted to put this up so it would hopefully help anyone else that was stuck trying to figure this out. You only need a 7 pin. If you have brakes on your trailer, which either it comes with or they're over a certain weight. Also I did all this on my phone, usually while doing other stuff. And I don't go back to edit very much, so sorry.
So you don't have to read all my terrible writing.Here's a link to the videos that's also terrible.That I did trying to explain how I did a seven pin on my bronco:
Also if you're wondering the trailer I tow is a Clipper 9000 ROK. It's just a nice place to go to sleep and you can get out of the rain and it has a refrigerator and a sink with a big twenty seven gallon water tank, and it has a propane outlet, and it has a solar panel and 2 100 amp hour marine batteries it cost me sixteen thousand three hundred dollars out the door at General RV in salt lake city in august of 2024 and my experienceand my experience at leastand my experience at least wasand my experience at least was fairly goodand my experience at least was fairly good.The only thing I didn't like is they did tryand my experience at least was fairly good.The only thing I didn't like is they did try toand my experience at least was fairly good.The only thing I didn't like is they did try to upsell me like twenty seven hundred for like shipping cost or somethingand my experience at least was fairly good.The only thing I didn't like is they did try to upsell me like twenty seven hundred for like shipping cost?Or something on their website, they had the trailerand my experience at least was fairly good.The only thing I didn't like is they did try to upsell me like twenty seven hundred for like shipping cost?Or something on their website, they had the trailer at 13,999 and I told him, that's all I could payand I told him, that's all I could pay.And so they took that off, and it was that price plus tax title and tax was that price plus tax title and tax?Which came out was that price plus tax title and tax?Which came out to almost exactly 16,300 out the doorout the door and I ended up selling my rooftop tent to a friend for twelve hundred bucksout the door and I ended up selling my rooftop tent to a friend for 1200 bucks. soso it kind of cost me fifteenso it kind of cost me 15,100. And i'm just putting this here to hopefully helpAnd i'm just putting this here to hopefully help people realizeAnd i'm just putting this here to hopefully help people realize that you never have to pay the price.They say always negotiateAnd i'm just putting this here to hopefully help people realize that you never have to pay the price.They say always negotiate andAnd i'm just putting this here to hopefully help people realize that you never have to pay the price.They say always negotiate, and I found a lot of these gone for way moreAnd i'm just putting this here to hopefully help people realize that you never have to pay the price.They say always negotiate, and I found a lot of these gone for way.More soAnd i'm just putting this here to hopefully help people realize that you never have to pay the price.They say always negotiate, and I found a lot of these gone for way.More, so just keep looking, find the best dealAnd i'm just putting this here to hopefully help people realize that you never have to pay the price.They say always negotiate, and I found a lot of these gone for way.More, so just keep looking, find the best deal.And also make sure and testAnd i'm just putting this here to hopefully help people realize that you never have to pay the price.They say always negotiate, and I found a lot of these gone for way.More, so just keep looking, find the best deal.And also, make sure and test everythingAnd i'm just putting this here to hopefully help people realize that you never have to pay the price.They say always negotiate, and I found a lot of these gone for way.More, so just keep looking, find the best deal.And also make sure and test everything, because as soon as you drive off that lotAnd i'm just putting this here to hopefully help people realize that you never have to pay the price.They say always negotiate, and I found a lot of these gone for way.More, so just keep looking, find the best deal.And also make sure and test everything, because as soon as you drive off that lot, that's yours.And I can guaranteeAnd i'm just putting this here to hopefully help people realize that you never have to pay the price.They say always negotiate, and I found a lot of these gone for way.More, so just keep looking, find the best deal.And also make sure and test everything, because as soon as you drive off that lot, that's yours.And I can guarantee if they do fix itAnd i'm just putting this here to hopefully help people realize that you never have to pay the price.They say always negotiate, and I found a lot of these gone for way.More, so just keep looking, find the best deal.And also make sure and test everything, because as soon as you drive off that lot, that's yours.And I can guarantee if they do fix it if they fix itAnd i'm just putting this here to hopefully help people realize that you never have to pay the price.They say always negotiate, and I found a lot of these gone for way.More, so just keep looking, find the best deal.And also make sure and test everything, because as soon as you drive off that lot, that's yours.And I can guarantee if they do fix it if they fix it.It's going to take foreverAnd i'm just putting this here to hopefully help people realize that you never have to pay the price.They say always negotiate, and I found a lot of these gone for way.More, so just keep looking, find the best deal.And also make sure and test everything, because as soon as you drive off that lot, that's yours.And I can guarantee if they do fix it if they fix it.It's going to take forever and it's going to be sittingAnd i'm just putting this here to hopefully help people realize that you never have to pay the price.They say always negotiate, and I found a lot of these gone for way.More, so just keep looking, find the best deal.And also make sure and test everything, because as soon as you drive off that lot, that's yours.And I can guarantee if they do fix it if they fix it.It's going to take forever and it's going to be sitting at that rv.ShopAnd i'm just putting this here to hopefully help people realize that you never have to pay the price.They say always negotiate, and I found a lot of these gone for way.More, so just keep looking, find the best deal.And also make sure and test everything, because as soon as you drive off that lot, that's yours.And I can guarantee if they do fix it if they fix it.It's going to take forever and it's going to be sitting at that rv.Shop for monthAnd i'm just putting this here to hopefully help people realize that you never have to pay the price.They say always negotiate, and I found a lot of these gone for way.More, so just keep looking, find the best deal.And also make sure and test everything, because as soon as you drive off that lot, that's yours.And I can guarantee if they do fix it if they fix it.It's going to take forever and it's going to be sitting at that rv.Shop for months. I tried to take mine in just to get the rough rack, replaced and one other teeny, tiny thing, and it sat at a camping world for over a month.And they hadn't even gotten to it and they lost my keys. So if you're going to buy a trailer, I would be prepared to do some of your own repairs as well.I've heard some manufacturers will send parts to people.They would not for me.
I couldn't find one place in arizona that carries them although they also now sell them under the viking nameI couldn't find one place in arizona that carries them although they also now sell them under the viking name.Although they seem a little more expensive for the exact same trailerI couldn't find one place in Arizona that carries them although they also now sell them under the Viking name. Although they seem a little more expensive for the exact same trailer.
Also, mine came with a rooftop tent that I ended up selling, I didn't want it and i'm.I'm pretty sure that the mounts were not strong enough to hold it because they literally broke on my trip home.The first time I towed it but besides that, I love the trailer.And the only thing that is broken on it is.The controller for the water heater which i've never even thought about using in the first place and I only found out on my last trip because someone wanted hot water. I would recommend getting either the 11000 12000, or 13000 though, because they're a little bigger and you can actually stand up in them as long as you're not taller than 5 foot 10 inches, I only got this one because I got it when I had my baby Bronco, that could only tow 2200 pounds.
Also if you are gonna take them on trails, I would recommend getting AI think it's just called like a trail trailer hitch, and basically it has like a U Joint, so if the trailer tips over or rolls over, it doesn't drag your Bronco along with it or vice versa. Also I think that because those u joints seem to have rubber bushings.It would dampen some of the vibrations although mine didn't do very bad with the full size bronco, but it was kind of bouncy in the baby bronco, but I think that was because of my air suspension and I just hadn't figured out how to dial it in right.
Hello everyone,
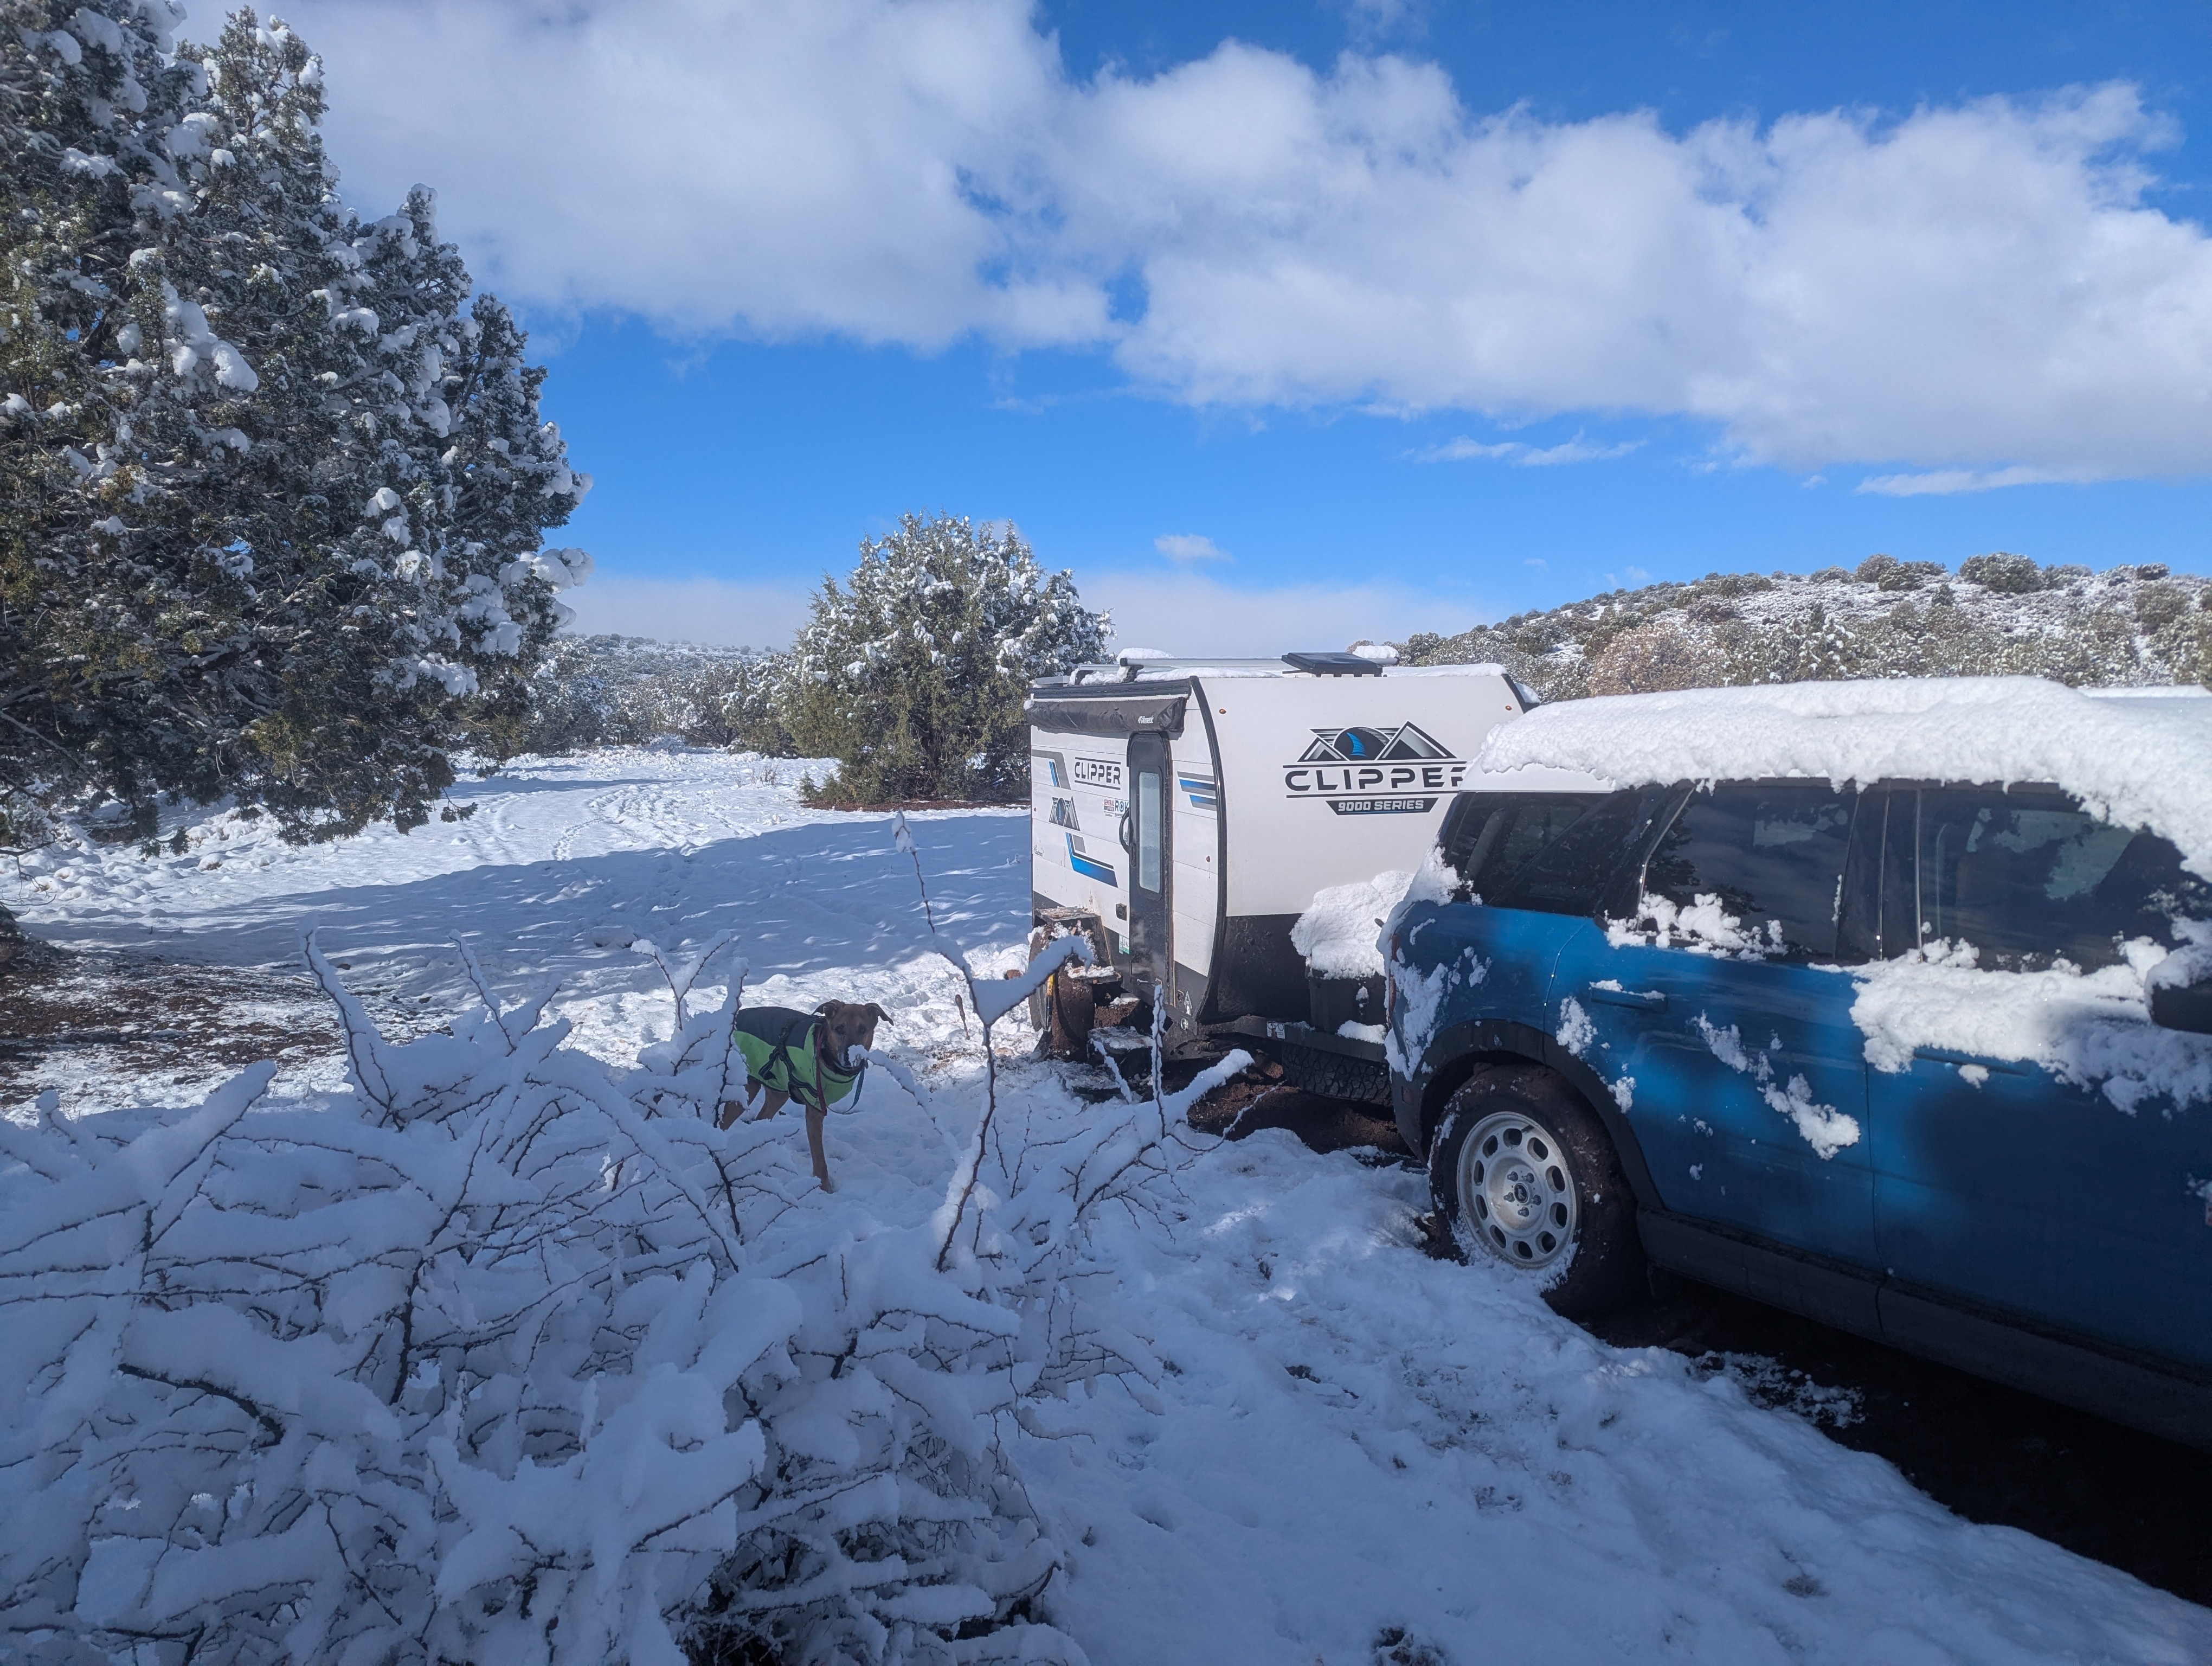
So I recently transitioned from a bronco sport heritage limited, which is the vehicle in the picture to a twenty two badlands, four door manual transmission.And it did not come with the stock tow package, which wouldn't work anyways, because I need a seven pin harness because my travel trailer has brakes.
So on my baby bronco I wired everything myself, but I started with the stock ford, four pin, which made it a lot easier.I've already ordered the hitch lock stabilizer and universal wiring kits, and I have my old tekonsha prodigy.Iq brake controller.
I tried searching like trailer and towing and didn't find any posts about it, but I easily could have missed them.I'm used to the bronco sport forum, which actually looks a lot different than this. Has anyone installed a seven pin brake controller on their full size Bronco, and if so, can you either appoint me to the post or give me any tips that I might need to know? I've already installed one on a baby bronco, but I was again starting with a 4 Pin, so I only had to wire the power.The groundThe reverse lights and the wires to the brake controller, which also needed its own power.And ground. I believe that since I don't have a 4 pin that just means I also have to wire the turn signals and brake lights but I didn't know if there was any tips about, like, where to route stuff where to mount stuff? Is there anything I should watch out for electrical wise. Is there certain fuse I should tap for the power just any tips.
Also, if anyone has towed with a badlands, prefer however non sas, is the squat with the stock suspension bad? With my baby bronco I had air suspension so I could make it level and im just wondering if I should go ahead and buy these little airbags, you stuff between coil springs and air them up, and it acts like air suspension.So you can level out your vehicle. My trailer is only nineteen hundred and fifty pounds.Because that's about all the baby bronco would tow but just thought I would ask if anyone has if they have any tips or anything.
Thanks.
So you don't have to read all my terrible writing.Here's a link to the videos that's also terrible.That I did trying to explain how I did a seven pin on my bronco:
Also if you're wondering the trailer I tow is a Clipper 9000 ROK. It's just a nice place to go to sleep and you can get out of the rain and it has a refrigerator and a sink with a big twenty seven gallon water tank, and it has a propane outlet, and it has a solar panel and 2 100 amp hour marine batteries it cost me sixteen thousand three hundred dollars out the door at General RV in salt lake city in august of 2024 and my experienceand my experience at leastand my experience at least wasand my experience at least was fairly goodand my experience at least was fairly good.The only thing I didn't like is they did tryand my experience at least was fairly good.The only thing I didn't like is they did try toand my experience at least was fairly good.The only thing I didn't like is they did try to upsell me like twenty seven hundred for like shipping cost or somethingand my experience at least was fairly good.The only thing I didn't like is they did try to upsell me like twenty seven hundred for like shipping cost?Or something on their website, they had the trailerand my experience at least was fairly good.The only thing I didn't like is they did try to upsell me like twenty seven hundred for like shipping cost?Or something on their website, they had the trailer at 13,999 and I told him, that's all I could payand I told him, that's all I could pay.And so they took that off, and it was that price plus tax title and tax was that price plus tax title and tax?Which came out was that price plus tax title and tax?Which came out to almost exactly 16,300 out the doorout the door and I ended up selling my rooftop tent to a friend for twelve hundred bucksout the door and I ended up selling my rooftop tent to a friend for 1200 bucks. soso it kind of cost me fifteenso it kind of cost me 15,100. And i'm just putting this here to hopefully helpAnd i'm just putting this here to hopefully help people realizeAnd i'm just putting this here to hopefully help people realize that you never have to pay the price.They say always negotiateAnd i'm just putting this here to hopefully help people realize that you never have to pay the price.They say always negotiate andAnd i'm just putting this here to hopefully help people realize that you never have to pay the price.They say always negotiate, and I found a lot of these gone for way moreAnd i'm just putting this here to hopefully help people realize that you never have to pay the price.They say always negotiate, and I found a lot of these gone for way.More soAnd i'm just putting this here to hopefully help people realize that you never have to pay the price.They say always negotiate, and I found a lot of these gone for way.More, so just keep looking, find the best dealAnd i'm just putting this here to hopefully help people realize that you never have to pay the price.They say always negotiate, and I found a lot of these gone for way.More, so just keep looking, find the best deal.And also make sure and testAnd i'm just putting this here to hopefully help people realize that you never have to pay the price.They say always negotiate, and I found a lot of these gone for way.More, so just keep looking, find the best deal.And also, make sure and test everythingAnd i'm just putting this here to hopefully help people realize that you never have to pay the price.They say always negotiate, and I found a lot of these gone for way.More, so just keep looking, find the best deal.And also make sure and test everything, because as soon as you drive off that lotAnd i'm just putting this here to hopefully help people realize that you never have to pay the price.They say always negotiate, and I found a lot of these gone for way.More, so just keep looking, find the best deal.And also make sure and test everything, because as soon as you drive off that lot, that's yours.And I can guaranteeAnd i'm just putting this here to hopefully help people realize that you never have to pay the price.They say always negotiate, and I found a lot of these gone for way.More, so just keep looking, find the best deal.And also make sure and test everything, because as soon as you drive off that lot, that's yours.And I can guarantee if they do fix itAnd i'm just putting this here to hopefully help people realize that you never have to pay the price.They say always negotiate, and I found a lot of these gone for way.More, so just keep looking, find the best deal.And also make sure and test everything, because as soon as you drive off that lot, that's yours.And I can guarantee if they do fix it if they fix itAnd i'm just putting this here to hopefully help people realize that you never have to pay the price.They say always negotiate, and I found a lot of these gone for way.More, so just keep looking, find the best deal.And also make sure and test everything, because as soon as you drive off that lot, that's yours.And I can guarantee if they do fix it if they fix it.It's going to take foreverAnd i'm just putting this here to hopefully help people realize that you never have to pay the price.They say always negotiate, and I found a lot of these gone for way.More, so just keep looking, find the best deal.And also make sure and test everything, because as soon as you drive off that lot, that's yours.And I can guarantee if they do fix it if they fix it.It's going to take forever and it's going to be sittingAnd i'm just putting this here to hopefully help people realize that you never have to pay the price.They say always negotiate, and I found a lot of these gone for way.More, so just keep looking, find the best deal.And also make sure and test everything, because as soon as you drive off that lot, that's yours.And I can guarantee if they do fix it if they fix it.It's going to take forever and it's going to be sitting at that rv.ShopAnd i'm just putting this here to hopefully help people realize that you never have to pay the price.They say always negotiate, and I found a lot of these gone for way.More, so just keep looking, find the best deal.And also make sure and test everything, because as soon as you drive off that lot, that's yours.And I can guarantee if they do fix it if they fix it.It's going to take forever and it's going to be sitting at that rv.Shop for monthAnd i'm just putting this here to hopefully help people realize that you never have to pay the price.They say always negotiate, and I found a lot of these gone for way.More, so just keep looking, find the best deal.And also make sure and test everything, because as soon as you drive off that lot, that's yours.And I can guarantee if they do fix it if they fix it.It's going to take forever and it's going to be sitting at that rv.Shop for months. I tried to take mine in just to get the rough rack, replaced and one other teeny, tiny thing, and it sat at a camping world for over a month.And they hadn't even gotten to it and they lost my keys. So if you're going to buy a trailer, I would be prepared to do some of your own repairs as well.I've heard some manufacturers will send parts to people.They would not for me.
I couldn't find one place in arizona that carries them although they also now sell them under the viking nameI couldn't find one place in arizona that carries them although they also now sell them under the viking name.Although they seem a little more expensive for the exact same trailerI couldn't find one place in Arizona that carries them although they also now sell them under the Viking name. Although they seem a little more expensive for the exact same trailer.
Also, mine came with a rooftop tent that I ended up selling, I didn't want it and i'm.I'm pretty sure that the mounts were not strong enough to hold it because they literally broke on my trip home.The first time I towed it but besides that, I love the trailer.And the only thing that is broken on it is.The controller for the water heater which i've never even thought about using in the first place and I only found out on my last trip because someone wanted hot water. I would recommend getting either the 11000 12000, or 13000 though, because they're a little bigger and you can actually stand up in them as long as you're not taller than 5 foot 10 inches, I only got this one because I got it when I had my baby Bronco, that could only tow 2200 pounds.
Also if you are gonna take them on trails, I would recommend getting AI think it's just called like a trail trailer hitch, and basically it has like a U Joint, so if the trailer tips over or rolls over, it doesn't drag your Bronco along with it or vice versa. Also I think that because those u joints seem to have rubber bushings.It would dampen some of the vibrations although mine didn't do very bad with the full size bronco, but it was kind of bouncy in the baby bronco, but I think that was because of my air suspension and I just hadn't figured out how to dial it in right.
Hello everyone,
So I recently transitioned from a bronco sport heritage limited, which is the vehicle in the picture to a twenty two badlands, four door manual transmission.And it did not come with the stock tow package, which wouldn't work anyways, because I need a seven pin harness because my travel trailer has brakes.
So on my baby bronco I wired everything myself, but I started with the stock ford, four pin, which made it a lot easier.I've already ordered the hitch lock stabilizer and universal wiring kits, and I have my old tekonsha prodigy.Iq brake controller.
I tried searching like trailer and towing and didn't find any posts about it, but I easily could have missed them.I'm used to the bronco sport forum, which actually looks a lot different than this. Has anyone installed a seven pin brake controller on their full size Bronco, and if so, can you either appoint me to the post or give me any tips that I might need to know? I've already installed one on a baby bronco, but I was again starting with a 4 Pin, so I only had to wire the power.The groundThe reverse lights and the wires to the brake controller, which also needed its own power.And ground. I believe that since I don't have a 4 pin that just means I also have to wire the turn signals and brake lights but I didn't know if there was any tips about, like, where to route stuff where to mount stuff? Is there anything I should watch out for electrical wise. Is there certain fuse I should tap for the power just any tips.
Also, if anyone has towed with a badlands, prefer however non sas, is the squat with the stock suspension bad? With my baby bronco I had air suspension so I could make it level and im just wondering if I should go ahead and buy these little airbags, you stuff between coil springs and air them up, and it acts like air suspension.So you can level out your vehicle. My trailer is only nineteen hundred and fifty pounds.Because that's about all the baby bronco would tow but just thought I would ask if anyone has if they have any tips or anything.
Thanks.
22 badlands; 4door, manual transmission, soft top, non-sas, luxury pkg and a big dog.
